Pages

Friday, October 29, 2010

Mermaid Accessories

So that mermaid from a few posts back decided she needed some accessories. You know, a crown and a necklace and such. You know because mermaids have that stuff and it stays on when they swim underwater.

We started with a few sea shells salvaged from an old wreath of my mother in laws. Sweet Pea took these photos right before I said "STOP PLAYING WITH THE CAMERA!!"


Then we dug up one of her many princess crowns. Really, how many does one girl need? And why hasn't any one figured out how to make those plastic jewels stick??


Next we got out our trusty glue gun and glued the shells to the crown. It took a lot of glue!

Then we slapped a coat of modge podge over everything. Lots and lots of modge podge.
Then we sprinkled the whole thing with glitter. Purple Martha Stewart glitter. I didn't take a photo of this because well, it was glitter and it was everywhere!


We did the same process with another small shell and a strip of tulle tied in a knot.


We let everything dry overnight, did our best to shake off the extra glitter & then she posed!!


Next , we will spend the rest of our lives cleaning up purple glitter that has sprinkled over every surface of the kitchen. Her preschool teachers will be doing the same since she wore this outfit to her preschool party today!


Thursday, October 28, 2010

Raspberry Beret - a tutorial

Okay so it's not raspberry. Maybe the little button on there could be considered raspberry. I love raspberries.

Is it a beret? Qualifies as one for me today. I don't really care, I think it's a darn cute hat. It was inspired a bit by the hats in the mini boden catalog that came to my house a few weeks ago. I just love this one and this one too . Bummer for my kids, I am just too darn tight with money to justify spending $40 on a scarf and hat set for them. So what does mommy do, makes one!

All sorts of sweater ideas have been floating around in my head anyway ever since making the button scarves a while back and now seeing that Fire Flies and Jellybeans has sweaters as the secret ingredient for this round of the Iron Crafter. I still had most of the sweater left from that project so away we went.

1. Deconstruct your sweater. Front, back, etc. If yours has a nice ribbed waist, cut that off too.

2. Take your trim piece and make sure it fits around yours or your child's head.

3. Cut the biggest circle you can from the back of you sweater. I think if I was making one of these for myself I would need a bigger sweater. This was a womens size medium. I traced a bowl so that it would be round.

4. Pin or mark the quarters of your circle. I did this by folding it in half & pinning on the lines & then folding in half the other way and pinning again.

5. Take your circle and sew a basting stitch around the outer edge. Do not back stitch and do not overlap your threads when you come back around the circle. Pull on your threads to gather.

6. Take your trim piece, fold in half lengthwise and sew the short ends together to make a circle. Fold your trim piece in half. Mark the quarter marks on your trim piece. I'm sorry I forgot to take a photo of this part.

7. Pin your trim to the circular piece pinning wrong sides together.


6. Sew, using a zigzag stitch. I had a bit of trouble with this since I was sewing three very thick layers. Go slow!


7. If you wish, trim seam edges, serge or leave raw. I left mine. We were in a hurry today.

8. Try to convince your child this hat needs a brim. Try harder. Fail. Sew on a button instead.

9. Call it a day. :)

10. Keep thinking about doing another tutorial where you make a beret type hat with a brim.


ETA: This project has been selected for the Top Ten in the Iron Crafter Competition over at Fireflies and Jellybeans. If you like it, I'd love your vote! Click on the square below and vote for the Sweater Beret!


Wednesday, October 27, 2010

Masked Monkeys

Remember the bats from last week?? And how I wanted to make more?? Well I finally did a few. I moved a few things around to add them to the look of my mantel. Like so.


And while I had the black card stock and scissors out, I made some masks for my monkeys. Yes, I have large green "see no evil, hear no evil, speak no evil" monkeys in my living room. They were a wedding gift from my sister in law. They are a little strange and I love them. Now they are a little stranger for Halloween! You could do the same for the animals in your house. Or do masks for your framed family photos!!


And since I loved the photos I saw floating around the Internet last week of all the other silhouettes, I picked up a package of crows and mice and had Sweet Pea help me put them up around the house.

See, naughty crows in the fruit bowl.

One hanging out on my pewter plate.
A dirty old mouse looking for his mouse hole.
More crows causing problems.

ANd this guy is part of a whole family of mice trying to find their way upstairs. Okay, I really hope not. Real mice give me the creeps. At my old job, I had a mouse that showed up every winter. I'll never forget sitting at my desk and seeing the mouse run under the closet door with a HUGE piece of pizza crust. The mouse made it under the door, the crust did not. But the mouse tried hard to pull it under the door and I could hear it. I had to leave my office. We got a trap after that. Yuck.


Tuesday, October 26, 2010

Missouri Mermaid

I caught a mermaid. I am keeping her in my bathtub. Maybe I should give her some water?? Maybe not, she seems pretty happy. I'll tell you how to get your own soon!


Monday, October 25, 2010

Pint Sized Project - Jack'o-lantern Cookies

No posting this weekend due to a lovely visit from my parents. It was so nice to have them. Especially since we realized it had been over six months since my dad had been here. That's a long time considering they only live about four hours away. We've seen my parents much more than that, just at their house!

I have to say my mom rocks. My first experiences with crafting and baking were thanks to her. I remember a few of the outfits she sewed for my sisters and myself. And we talked this weekend about the host of angles we constructed one year for Christmas gifts. She also rocks because she was sweet enough to bring along a craft for the kids to complete this weekend as well as a recipe for us to all make together.

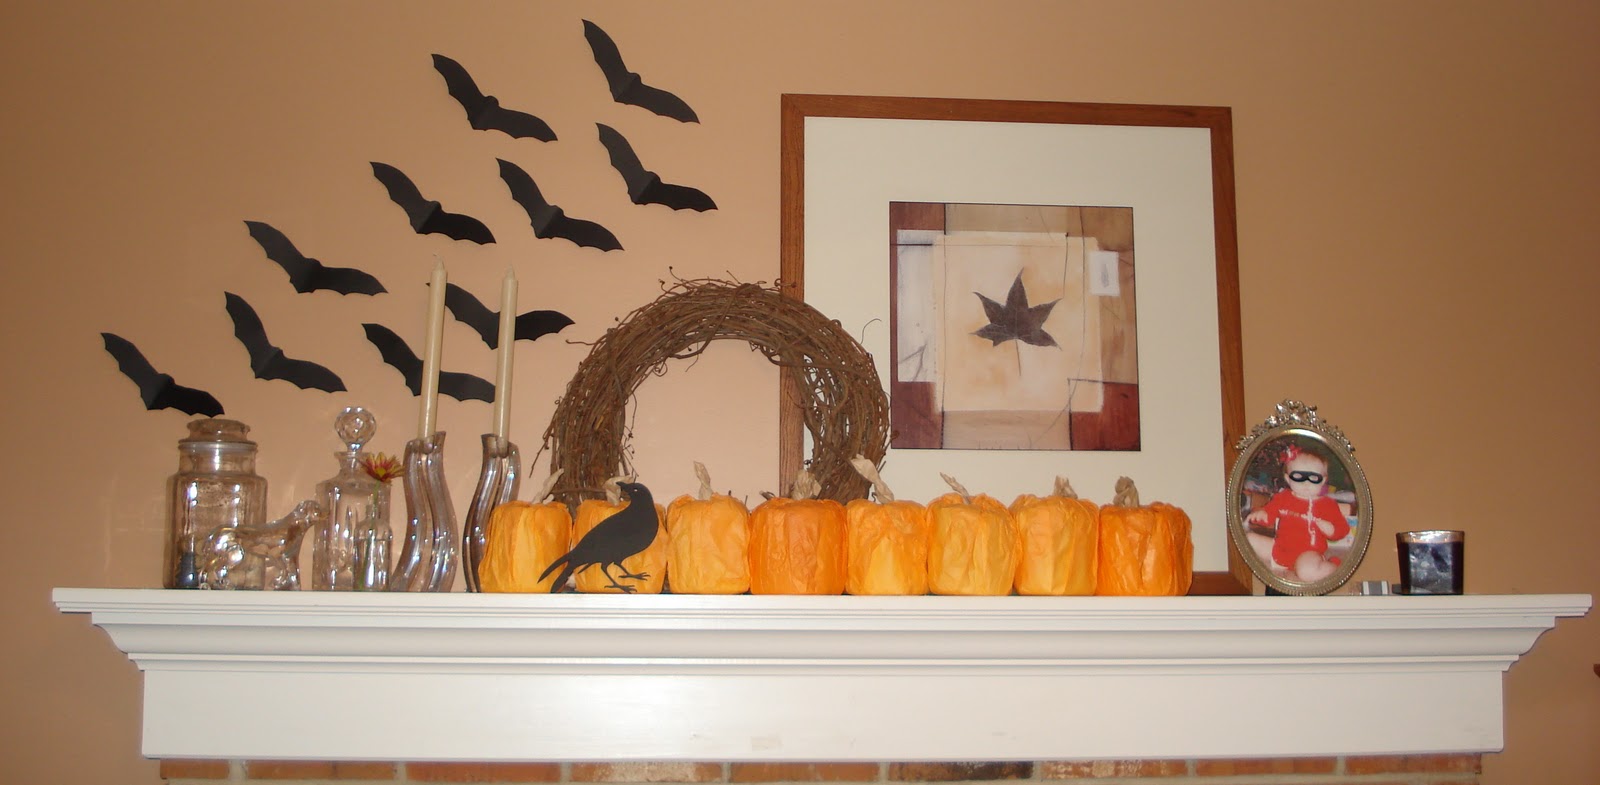
Here is the cool black cat they made. You can check out the directions here if you want to make your own.


As for the cookies. The recipe was printed in the Des Moines Register last week. Although they are pumpkin shaped they are not pumpkin cookies. They are darn good gingerbread cookies with cream cheese filling. Enjoy!


Sorry about the blurry photo :(


3 1/2 cups all purpose flour
2 tsp cinnamon
2 tsp ground ginger
1/2 tsp ground cloves
1/2 tsp all spice
1/2 tsp salt
1 tsp baking soda
1 1/2 sticks butter, room temperature
2 cups packed brown sugar
1/2 cup molasses
1/4 cup milk

for the filling:
two 8 ounce packages cream cheese, softened
1 cup powdered sugar
1 tsp vanilla

To make the cookies, in a medium bowl, whisk together the flour, cinnamon, ginger, cloves, all spice, salt & baking soda.

In another bowl, use an electric mixer to beat together the butter & brown sugar. Mix in the molasses & milk, then the dry ingredients. Refrigerate until firm, about 2 hours.

When ready to back, heat the oven to 350 degrees. Coat two baking sheets with cooking spray or parchment paper.

On a lightly floured surface and working with half the dough at a time, roll out the dough to 1/8th inch thick. Using a 4 inch pumpkin shaped cutter, cut out 40 cookies. (If we make these again, I may get a smaller cutter since these were big and practically a meal with two sandwiched together!)

Using a paring knife, cut out a jack o' lantern face on 20 of the cookies. Transfer cookies to the prepared baking sheets, leaving 1 inch between each cookie. Bake for 12 -15 minutes (or 10 if your husband likes almost raw cookies like mine) or until golden around the edges. Transfer cookies to a rack and allow to cool.

To make the filling, in a medium bowl, use and electric mixer to beat together the cream cheese, sugar, & vanilla until smooth and creamy.

Add a tablespoon of filling to the bottom cookies and spread to within 1/4 inch of the edges. Place a top cookie on each to create a sandwich. Store in an air tight container.

Oh and I recommend enjoying your cookies with something like this

The BEST cider ever. IT's Apple Cherry Cider. From the nursery in my home town. I have a jug of apple raspberry too. mmmm fall.


Friday, October 22, 2010

Pint Sized Project - A Ghost Family

Apparently my house is haunted. Haunted by a whole family of tiny ghosts. Last year it was just the momma and daddy ghost but this year they spawned a whole mess of babies. Lovely! Let me tell you all about it.

Every year for the past three years I have tackled the mess of making salt dough ghosts with Sweet Pea. We struggle to get them to stand, get firm, and with scraping the dough off the counter. The first year our ghosts were awesome!! You know, Sweet Pea was two and momma did most of the work. Last year our ghosts were pretty pathetic. In fact Sweet Pea insisted on doing them alone and they were all flat and mushy and I threw them away. (Don't tell!) This year, Sweet Pea made ghosts on her own. A whole mess of baby ghosts. Then Jojo picked them all up and smashed them into a ball before I could pop them in the microwave to get them hard. After some tears, the babies were born again! And here they are along with their lovely paper bag trees. I really love how lumpy and bumpy they are. Truly homemade!!


Here's how to do it if you would like to make your own.

1. Don your aprons


2. Put your dough in bowl and mix it up! I split the recipe in two bowls. My kids don't share well.
Ghost Dough
1 cup flour
1 cup salt
1/2 cup water (or enough to make it stick together)

JOjo does not recommend tasting the dough.

3. Mix all ingredients together with a wooden spoon until smooth. Form into ghosts. Microwave the ghosts on a plate 30 seconds at a time until firm. About two minutes depending on the size of your ghosts. And there is no photo of this because I did this part while we were eating & cleaning up supper and totally forgot about the ghosts until morning when I found them in the microwave!

4. Give them some faces with a Black Sharpie permanent marker! Sweet Pea did that while I mixed up these awesome Pumpkin Scones for breakfast.

5. Make them a tree if you wish! The Family Fun Website has a great tutorial with a video on how to make the trees and the ghosts!


6. Enjoy your lumpy, bumpy, salty friends!