
Thanks so much to the following blogs for featuring this project. It makes me feel warm and fuzzy inside: Today's Top Twenty, Someday Crafts, Sugar Bee - Craft Edition
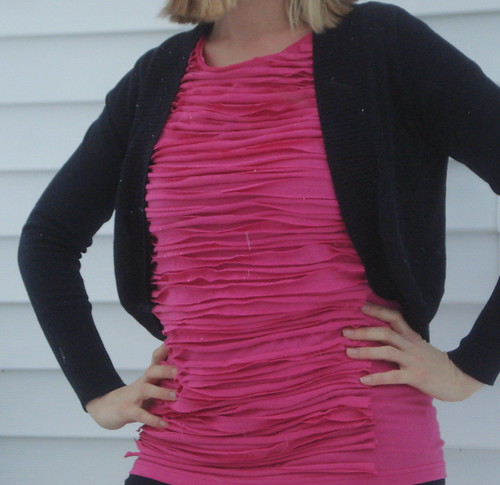
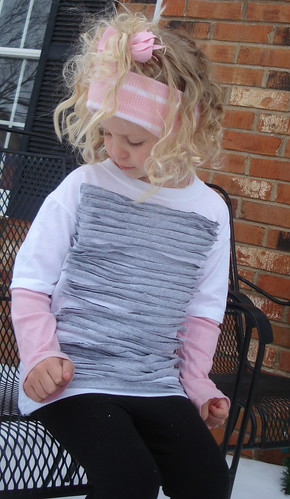
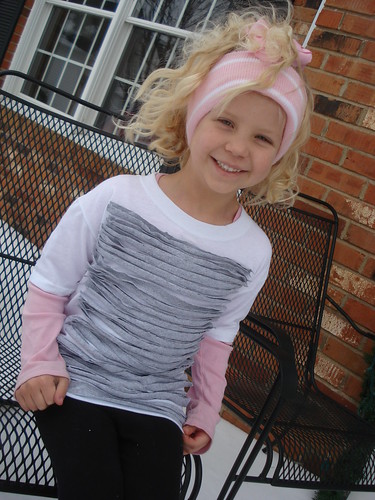
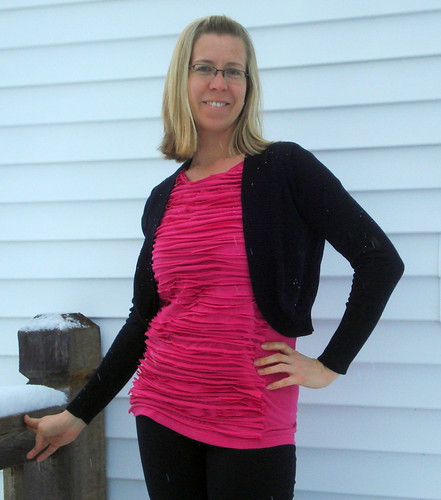
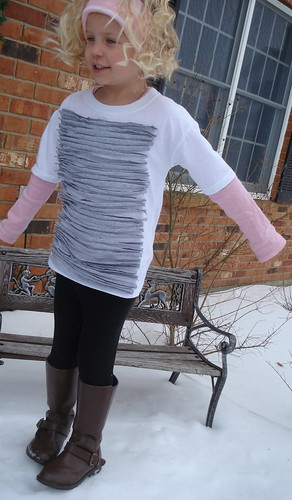
This is the tutorial for the shirt I posted on Saturday for the Embellished Five project. I fully intended to include a tutorial on Saturday but after looking at the photos, I thought it was hard to see what was happening with the pink on pink. So, to fix the problem, I made another shirt. Gray on white for Sweet Pea.
To make this shirt, you will need the following.
- two t-shirts. One for the shirt part and one for the "stripes"
- rotary cutter and mat
- sewing machine & thread, scissors, etc
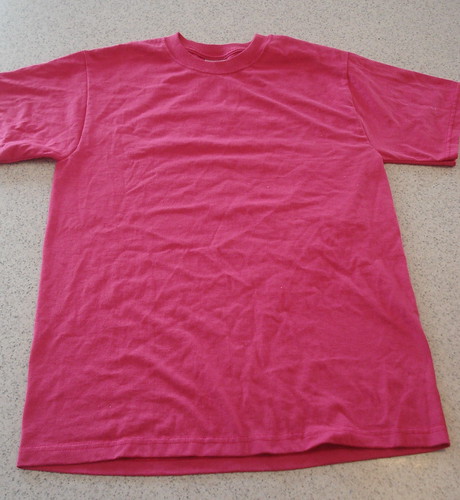
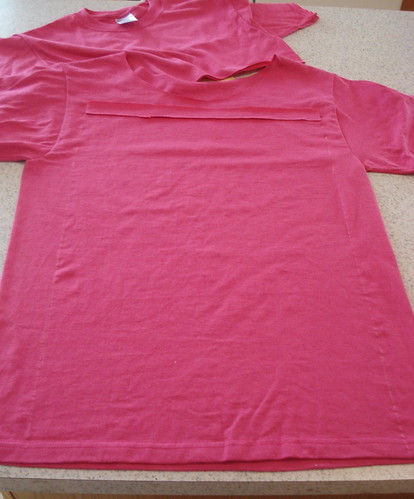
Start with your fabulously boxy t-shirt number one.
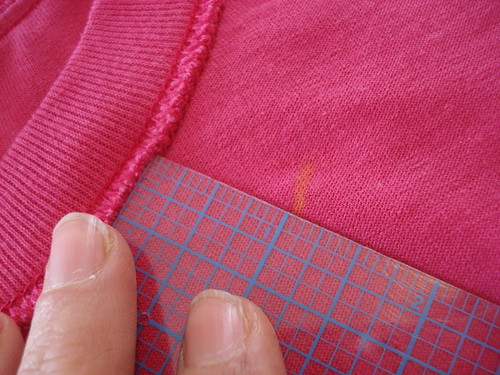
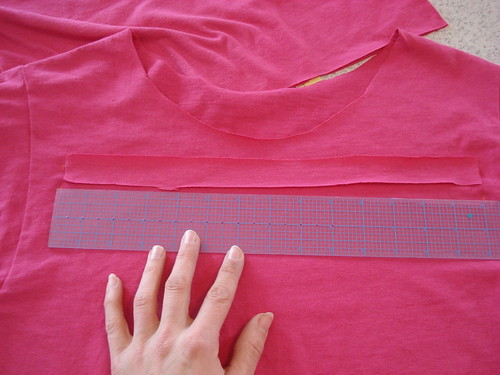
This first few steps are optional. You may not wish to modify the shape of your shirt. Here is one way to do that. You can also put the shirt on inside out, pin it to fit, take it off and sew along your pin lines. I resized Sweet Pea's shirt slightly but left the pink one alone. On the pink, I started by measuring one inch all the way around the neckline. Connect, the dots and cut along your line.
Next, find boxy shirt number two and cut off the bottom hem. Cut as close to the serged row of stitches as possible without cutting into them.
Take that piece and pin it, right sides together to the neck line of shirt number one. Sew all the way around.
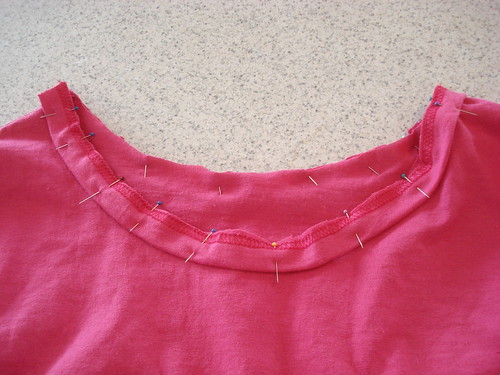
Now, you may leave the neck as is. BUT, if you like the look of a raw edge, cut the folded edge off. I'm sorry I didn't take better photos of this step. It will leave you with a sturdy neck line, but a double raw edge that won't fray. I repeated the same steps with the sleeves. I cut off two inches and used the remaining hem to create a doubled raw edge.
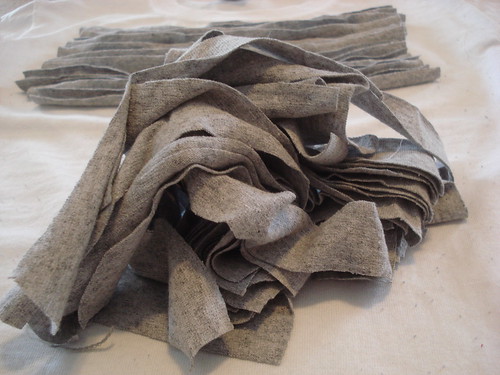
Now go back to shirt number two. Lay it flat and cut the shirt into one inch strips. Lots and lots and lots of one inch strips. For the pink t-shirt, I used almost every inch of the second t-shirt, including the sleeves.
See, lots and lots of strips!
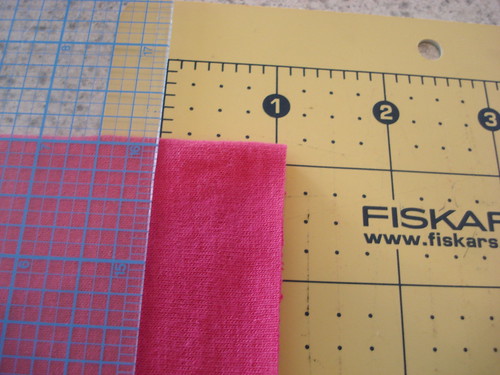
Next, go back to T-shirt number one and figure out how wide you would like your striped panel to be. Mine was fifteen inches across.
It's hard to see in this photo. But measure the length of your strips all the way down your shirt, making a mark on both sides. This will let you know where to start and end sewing on your strips. Now, take your stack of cut tshirt strips and cut them to the length you have decided on. I measured the first one and used that as a guide for the rest. They don't have to be exact.
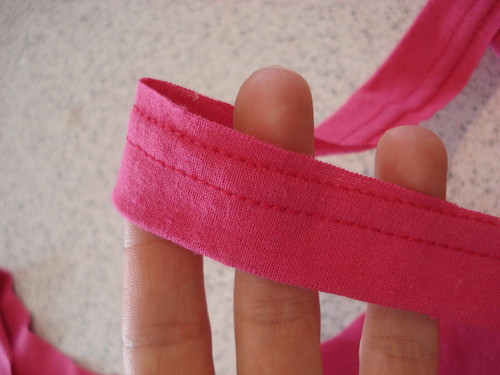
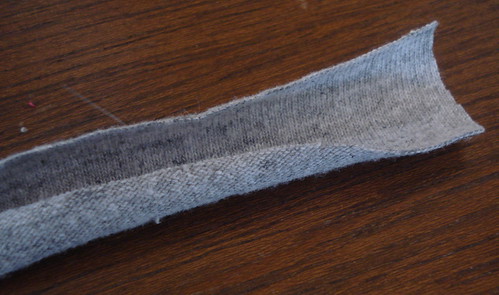
Now, go to your sewing machine and get ready to sew. I used pink thread but you could totally use contrasting thread as well. Look at your t-shirt strips. They will have a "right side" and a "wrong side". You will want to sew them on "right side" up. If you are unsure, stretch them a bit and see how they curl up. You want them to look like this.
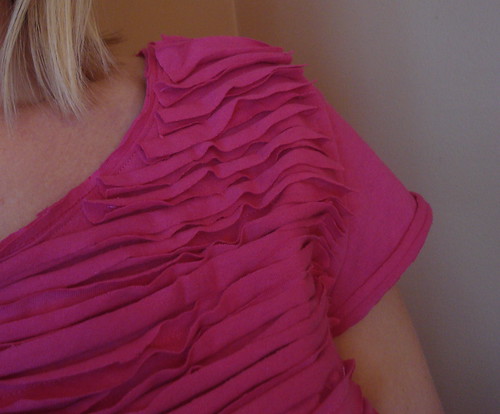
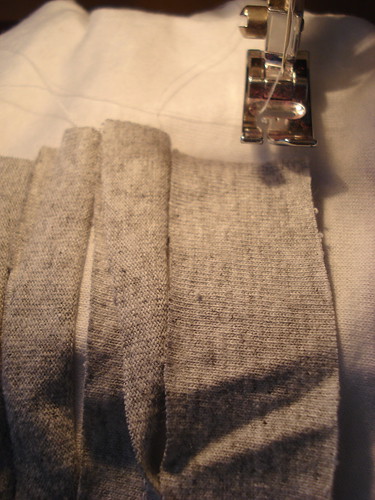
Begin sewing your strips on. I started under the neckline and then went back and filled in up to the shoulders. Place your strip on the "starting line" and sew down the middle until you reach the end. You made need to stretch your strips a bit to make them reach the other end. If you have a few that are too long, sew to the line and trim the excess off.
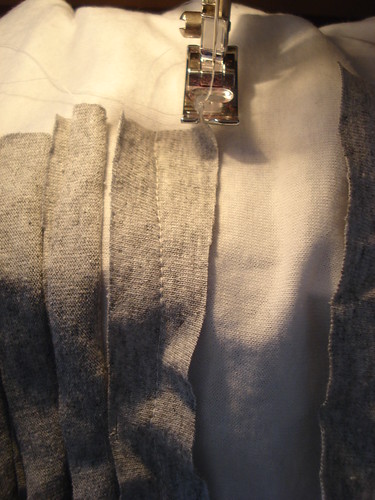
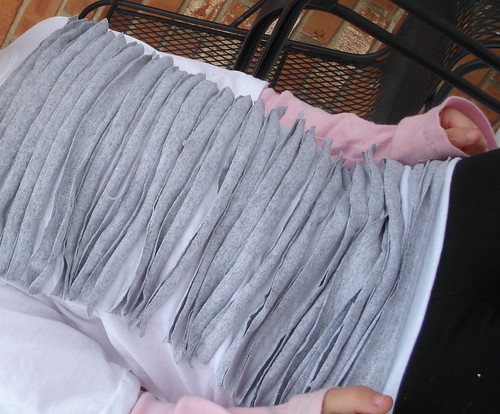
When you sew your first strip on, it will look like the one above. Just a lonely strip with a stitched line down the middle. Now you are going to add the next strip. Take the first strip and fold it on to itself, over the seam. Take your second strip and butt it up right next to the fold and stitch down the middle. This will ensure that your shirt has a "full" look. And, as long as you sewed the first strip on straight, it will ensure that the rest are sewn on straight as well! Now, continue sewing ALL the way down your shirt. If you, wish you can cut shorter strips to go up around the neckline.
Here's a few other thoughts.
-I am not a great tutorial writer. So if you have any questions PLEASE let me know.
- this shirt is heavy. You are sewing an entire t-shirt to another t-shirt.
- I think this would be really cute done in "team" colors. Or maybe a rainbow version??
-Warning: If your husband is like mine, he will think the raw edges give this shirt and "80's" look and will call you Pat Bentar and make you listen to the 80's radio station all weekend.
-if you make your own version of this shirt, will you pretty please send me an email and show me a picture?? I'd love to show off your work too!


Wow This is really Cute. It looks awesome..What a great Idea!!!
ReplyDeleteThis is sooooo cute! And it turns out so different using two colors then all one. Thanks for this great idea, if I can find time this weekend I am going to try it out :)
ReplyDelete~Sarah
love it! love the idea of the rainbow! my daughter LOVES rainbows!!!!
ReplyDeleteWhat a great idea! I love it! Thanks for sharing!
ReplyDelete/Mari
This is so fun! Love it!
ReplyDelete-jess
Thanks for the great idea! I especially love the pink shirt! :)
ReplyDeleteLove this. Definitely going to try it out!
ReplyDeleteSuper cute! And I love that pink color!! Thanks for the tutorial!!
ReplyDeletelove it if you would link this up to my 1st Fashion Friday Runway linky party!
ReplyDeletehttp://damedesignstudio.blogspot.com/2011/02/1st-fashion-friday-linky-party.html
Love this shirt! I'm going to have to file this in my "to make" file :) Thanks for sharing!
ReplyDeleteI am your newest follower and I would be honored, if you would link your super cute blog up on my blog stalkin' page.
ReplyDeletehttp://alaynahoward.blogspot.com/p/blog-stalkin.html
I just love this!!! super cute. I featured you on my blog http://hobbied.blogspot.com
ReplyDelete