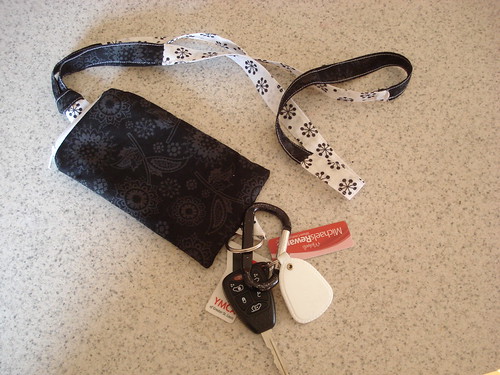
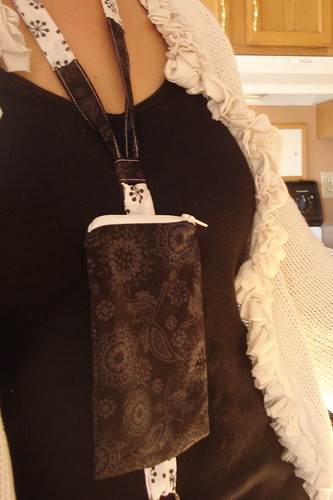
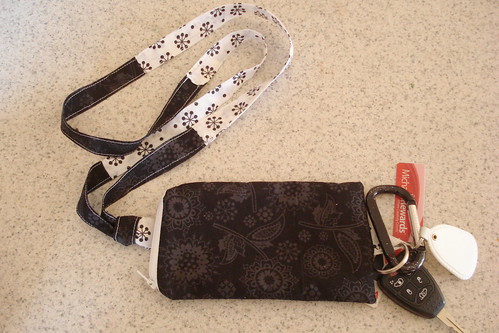
Yesterday was my mom's 60th birthday. She lives over four hours from me and didn't want a party so there was no big celebration. In fact, my mom went to a funeral for one of her very good friends, but that is a post for tomorrow. I wanted to make my mom a little something for her birthday and asked her awhile back if she'd like one of the pouches. She said yes, but wondered if I could make one that she could wear. See, my mom is a teacher and always running around with her keys and phone and change in her pocket. So, I came up with the lanyard pouch. I made a pouch similar to the pay it forward pouches, but made it vertical and attached rings to the top and bottom. Do you want to make one for the teacher in your life?? Or anyone else who needs quick access to their keys, phone, money??? I think I may make one for myself to wear at the park with the kids this summer. I hate carrying a purse at the park. How about a tutorial??
You will need
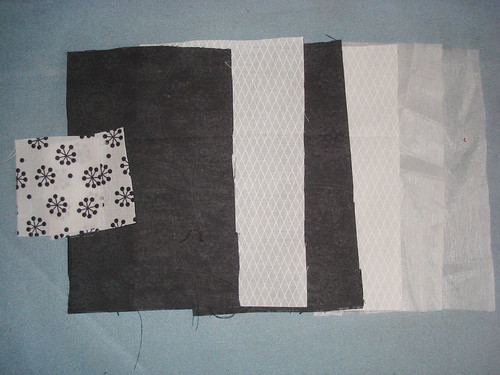
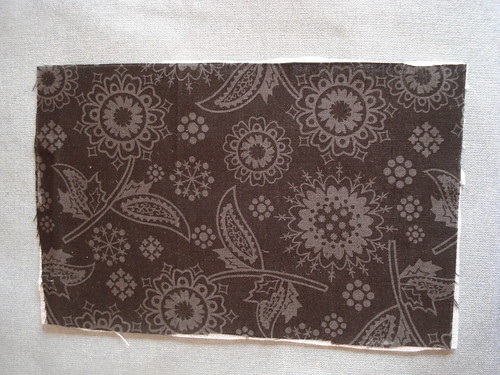
2 pieces of fabric 4 x 7.5 inches for the outside of the pouch
2 pieces of fabric 4 x 7.5 inches for the lining of the pouch
2 pieces of fusible interfacing 4 x 7.5
2 piece of fabric 2 x 2 inches for tabs
2 key rings
one zipper
start by attaching the interfacing to the fabric you are using for the outside of your pouch.
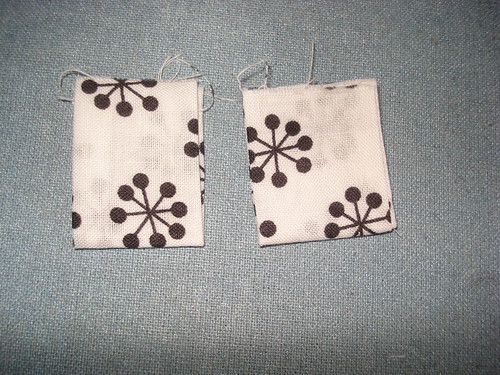
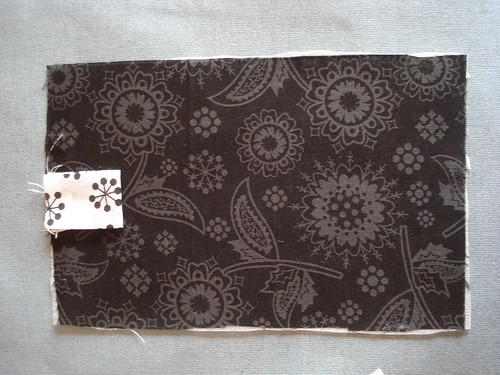
Next take your small 2x2 pieces of fabric and fold each one right sides together. Sew with a 1/4 inch seam allowance. Turn right side out and press. Fold in half and press again. They should look like this.
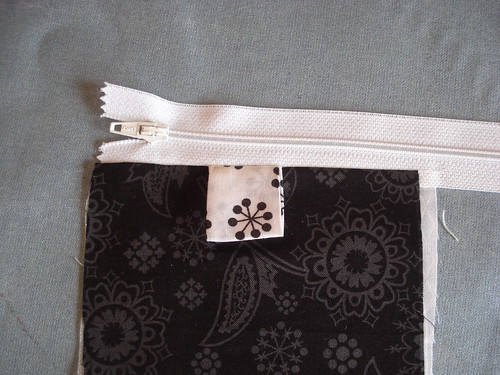
Now you are ready to assemble the pouch. Start with your outside fabric right side up. Next place the tab in the middle of the short end of the pouch.
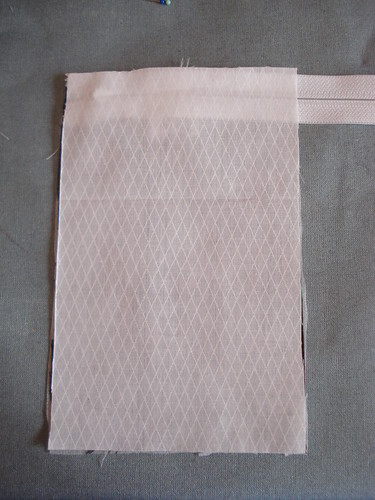
Next, put down your zipper. You place your zipper face down on top of the outer fabric and tab. The tab of your zipper should be facing on the left. Next, place your lining fabric on top of the zipper wrong side up.
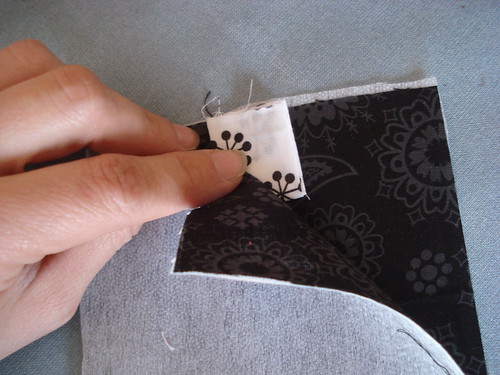
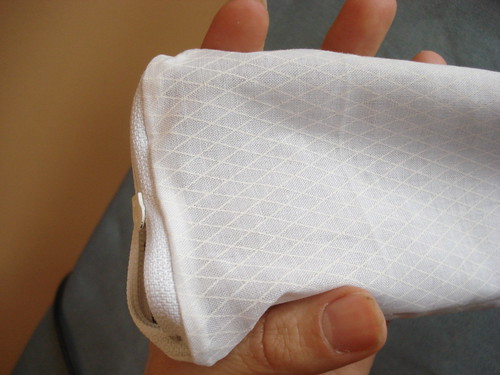
Carefully sew the layers together using a zipper foot if you have one. Open the layers and press down the seams. The one side of your pouch should look like this.
Now you will repeat with the other side, stacking the layers in the same way. For the opposite side, you will eliminate the tab and you will layer, placing your zipper with tab facing to the right instead of the left. When you are done, you can trim off the long end of your zipper.
Now, open the zipper of your pouch about once inch. Open the layers of your pouch placing the right sides together. Place your remaining tap between the outside layers of your pouch. The folded edge should be toward the inside. This tab should be directly across from the tab by the zipper.
Pin around your pouch and the sew with a 5/8 seam allowance around the outside edge, leaving a small opening in the pouch for turning. When sewing press the layers of the zipper towards the lining. Turn your pouch right side out and stitch up the lining.
I apologize, I should have a bunch of photos of those steps but I had a brain fart and forgot to take them. Let me know if you have questions about these steps. Attach key rings to both of the tabs. Now your pouch is done.
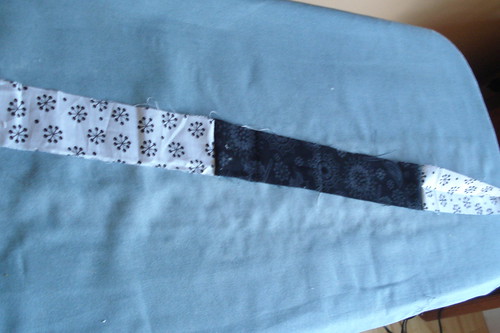
For the lanyard, Choose one long piece of fabric two inches wide, or several shorter pieces. You will need to sew the shorter pieces together to make your finished length. Fold this strip in half right sides together and sew. Turn the strip right side out and stitch the ends together to form a loop. Thread through the top right of your pouch.
Attach your keys and fill the pouch! I hope my mom likes this!!!


This is awesome!! My mother is a recently retired teacher and this would have been sooo helpful for her! She taught homebound students so she always had to have her keys and phone handy.
ReplyDeleteI linked to your tutorial on Craft Gossip Sewing:
http://sewing.craftgossip.com/tutorial-zippered-lanyard-pouch/2011/03/03/
--Anne