Remember yesterday's curtains that became a skirt for Sweet Pea?? Well they also became part of this cute ruffled apron. I'd show it to you on a real person but somehow it makes my belly look HUGE and I'm still in my sweaty gym clothes from this morning. I think it will be super cute on my sister or one of her friends who may win it as a prize at her bridal shower next week!
This one I put together with out a pattern. IN retrospect, I wish I had made the bottom layer of printed fabric wider and gathered instead of flat. I am happy with how the waistband and apron ties cover up the original stitching of the curtain casing though.
Hope you all come back tomorrow! It's the second installment of the Embellished 5!
Friday, March 11, 2011
Thursday, March 10, 2011
Curtains to Skirt
Sorry I have been a bit absent. It's been a busy week around here. Sweet Pea had her evaluation for kindergarten which she passed with flying colors. I had to laugh that she got a special mention for her scissors skills. Someone spends lots of time on her craft projects!! This morning we had a speech pathologist at the house for Jojo's evaluation to get some services through the state. I got the same "your kid needs services but he doesn't qualify" answer I was expecting. Now to figure out what to do. So that's life.
On to crafts. In order to save a few pennies on sewing projects I have been on the hunt for alternate fabric sources. This past week I grabbed this pair of red valance curtains from the $1 section of my thrift store. They have become a couple of things but the most fun so far is this cute skirt for Sweet Pea. I added a strip of fabric to the bottom and put a piece of elastic through the top casing and sewed it up the back. The waist is a little wonky but still pretty fun for summer!
Tuesday, March 8, 2011
Basic Wallets
Is anyone else following Celebrate the Boy over at MADE and Made By Rae ?? It's a whole MONTH of boy projects and giveaways and this is the 2nd year they have done it. I've gotten so many great ideas and there a few tutorials that I have gone back to several times, especially the ones about making pants!
This week Anna, from Noodlehead (one of my other favorite blogs) shared her basic boys wallet tutorial. I just happened to receive a huge box of discontinued decorator fabric samples from my sister in the mail this weekend and thought they'd be perfect!! I'm thinking these wallets will be my "go to" gift for Sweet Pea's friends as they are all turning 5 this spring! I know most of them would love to receive their own wallets with a dollar two and maybe a gift card inside!! I know my kids are excited about them! In fact, I made Jojo's first and Leah hounded me all evening to do one for her. Thankfully my non-napping kids went to bed at 7pm so I had time to make her's too!
Sorry these photos are less than stellar. It is an absolutely miserably dreary day here once again. I am so ready for this rain and gray to be over. It seems I need a bit more practice and little less help from the small people on applying my vinyl pieces and snaps too. Lots of crookedness there!!
Monday, March 7, 2011
Emalily Designs
I got the sweetest surprise on Saturday night. Remember the "Pay it Forward" post back in January. The one were I put the following as my status on facebook? : "I promise to send something handmade to the first 5 people who leave a comment. They must in turn post this and send something they made to the first 5 people who comment on their status. The rules are that it must be handmade by you and it must be sent to your 5 people sometime in 2011." Well, I also responded to the call by commenting on my friend Emily's status and Saturday she brought me the cutest flower refrigerator magnets!
I have a special affection for the orange one!! I told Emily that it's too bad she doesn't have an Etsy shop! BUT if you are interested in your own flower magnets can contact Emily of Emalily Designs at lwclizird@yahoo.com. She also makes similar flowers that are attached to hair clips for little girls! Darling!!
I'm thrilled to have a fancy fridge. These look a little better than the superman and snoopy magnets my kids have stuck to the fridge!
Saturday, March 5, 2011
Embellished T
It's Saturday. A dreary Saturday to close out a long week that included losing every single phone number in my phone and having my brand new tennis shoes stolen. And I'm home chilling with my crank pot kids. At least they napped today!!! Yesterday they opted not to which was NOT a good thing since mommy went out the night before and stayed up WAY to late. I was one tired, cranky mommy yesterday, hence no blogging.
So I'm back at it again today. My husband is nice enough to be spending the entire weekend downtown celebrating Mardi Gras while I'm home with my munchkins. I am hosting a "Mom's Night In" Slumber Party tonight though. Anyone want to come over for Cosmopolitans and Games??
Okay, sorry for the whinefest. I have a craft to show you!! How about an embellished t-shirt!
Start with one plain tshirt. This one is from Target. It was on clearance. I have an affection for black tshirts. Seriously, I have five or six. And I have just as many black tank tops!
Next, you need some tulle. I used the kind from a roll in the wedding supply section. I cut it into 1/2 inch strips. I think the length is six inches. I just went with whatever the width of the roll was. Pick on a spot on the side of your shirt, and lay out your strips in a "starburst" pattern. I put mine pretty low so I wouldn't have weird stretching over my chest.
Feel free to mess with your pattern. Vary the lengths. Make them all the same. Do multiple colors. Mine are lavender even though you can't really tell. After you have them how you like them, pin them down and sew them on. Sew right down the middle of each strip. It worked best for me to sew from the outside of the strip to the inside, overlapping strips as I went. After I sewed all the strips up to the side of my shirt, I trimmed the extra off. Now you can stop here if you want but I wanted to add a "center" to my design. SO I made a rosette out of a strip of tulle. I started with a knot and twisted and wrapped it to make a flower
Here is a good tutorial on how to do it. I didn't use glue, I just used a needle and thread to secure the rosette and then secure it to my shirt.
And if you are feeling fancy like me, you can add a few beads! I sewed those on with a needle and thread too.
Thursday, March 3, 2011
Living Life & Crafty Food
Yesterday I briefly mentioned that my mom had to attend a funeral on her birthday. This past Saturday the world lost a very special person to breast cancer. Julie was one of my mom's best friends back when my mom was the age that I am now. It's been several years since I had seen Julie, but her passing brought back many memories of the fun things she planned for her son and my sisters and myself to do on our visits to her place. It served as a reminder to me that even the smallest of things can make the entire day for your kids and create a memory for life.
One of the things I remember most is that Julie was always creative with lunch. I know there are plenty of moms out there doing the same thing. I've done it before but I needed a reminder. This was lunch yesterday! Cottage cheese, grapes, strawberries, carrots, ranch dressing & a peanut butter and jelly sandwich.
And this is what we had today! Fruit skewers, Grilled Cheese fish and a tomato soup pond. And yes, those fish went swimming!!
So anyway, keep life fun for your kids. Or if you don't have kids, do something special for a kid you know! Here's a few other ideas Julie shared with me as a kid
-making ice cream in a can like so. I remember kicking my can all over town!!
- writing letters to kids in the hospital
- dressing up. She had the BEST dress up clothes. Two tutu's even though she only had a son.
- powder puffs. There are fabulous photos somewhere of Julie's son Brandon and I covered in talcum powder! We got in trouble that time!
- postcards. Julie and her family sent us postcards from everywhere!
- special birthday cards. I loved cats as a kid and most of my cards had kitties on them.
- plays. I 'm not sure if it was Julie or my mom that encouraged this one but I have many memories of the "plays" Brandon, my sister Meagan and I came up with. Our best was titled "the big blue rock".
Hope everyone is having a lovely Thursday. I'm excited. I'm going out tonight!!
Wednesday, March 2, 2011
Happy Birthday Mom - the Helen Lanyard Pouch
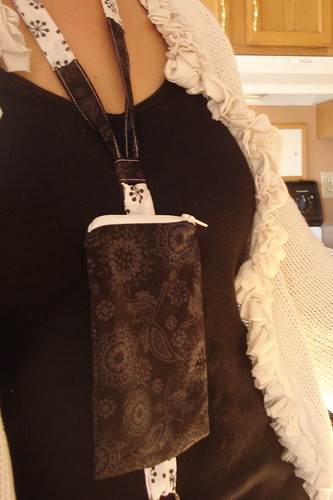
Yesterday was my mom's 60th birthday. She lives over four hours from me and didn't want a party so there was no big celebration. In fact, my mom went to a funeral for one of her very good friends, but that is a post for tomorrow. I wanted to make my mom a little something for her birthday and asked her awhile back if she'd like one of the pouches. She said yes, but wondered if I could make one that she could wear. See, my mom is a teacher and always running around with her keys and phone and change in her pocket. So, I came up with the lanyard pouch. I made a pouch similar to the pay it forward pouches, but made it vertical and attached rings to the top and bottom. Do you want to make one for the teacher in your life?? Or anyone else who needs quick access to their keys, phone, money??? I think I may make one for myself to wear at the park with the kids this summer. I hate carrying a purse at the park. How about a tutorial??
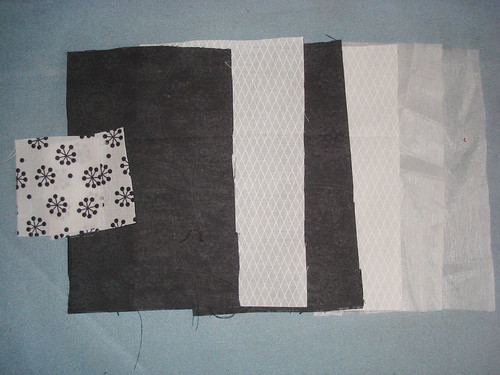
You will need
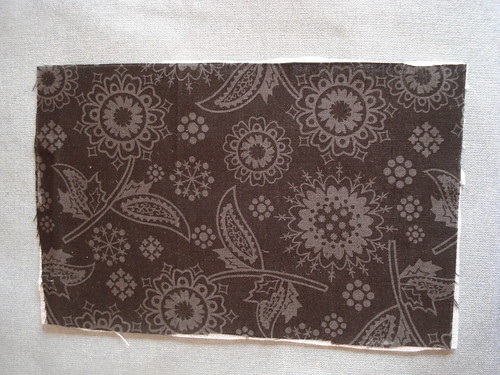
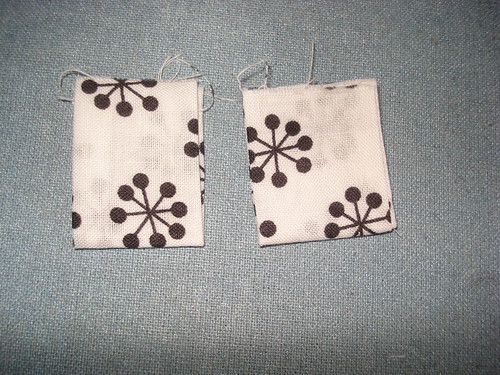
2 pieces of fabric 4 x 7.5 inches for the outside of the pouch
2 pieces of fabric 4 x 7.5 inches for the lining of the pouch
2 pieces of fusible interfacing 4 x 7.5
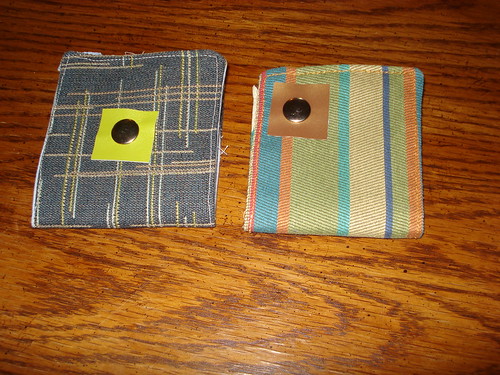
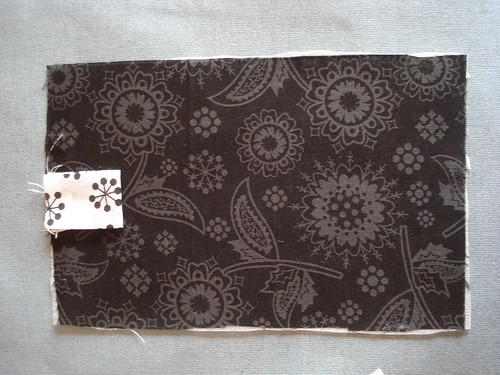
2 piece of fabric 2 x 2 inches for tabs
2 key rings
one zipper
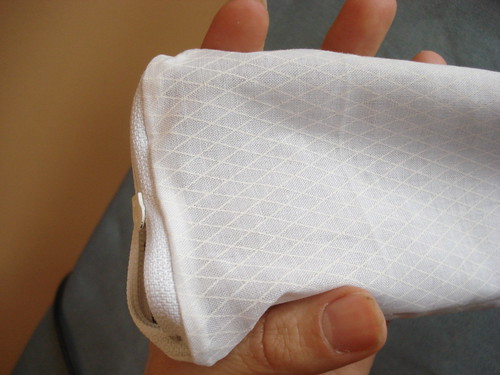
start by attaching the interfacing to the fabric you are using for the outside of your pouch.
Next take your small 2x2 pieces of fabric and fold each one right sides together. Sew with a 1/4 inch seam allowance. Turn right side out and press. Fold in half and press again. They should look like this.
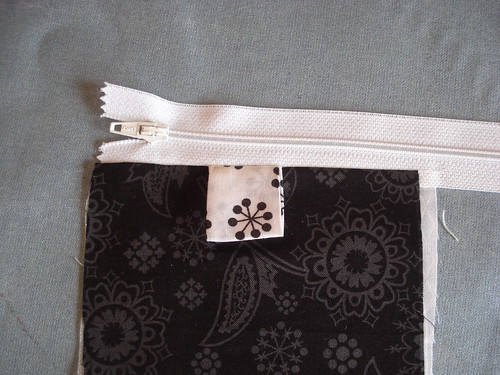
Now you are ready to assemble the pouch. Start with your outside fabric right side up. Next place the tab in the middle of the short end of the pouch.
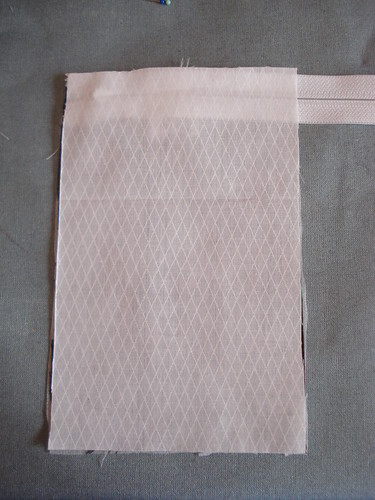
Next, put down your zipper. You place your zipper face down on top of the outer fabric and tab. The tab of your zipper should be facing on the left. Next, place your lining fabric on top of the zipper wrong side up.
Carefully sew the layers together using a zipper foot if you have one. Open the layers and press down the seams. The one side of your pouch should look like this.
Now you will repeat with the other side, stacking the layers in the same way. For the opposite side, you will eliminate the tab and you will layer, placing your zipper with tab facing to the right instead of the left. When you are done, you can trim off the long end of your zipper.
Now, open the zipper of your pouch about once inch. Open the layers of your pouch placing the right sides together. Place your remaining tap between the outside layers of your pouch. The folded edge should be toward the inside. This tab should be directly across from the tab by the zipper.
Pin around your pouch and the sew with a 5/8 seam allowance around the outside edge, leaving a small opening in the pouch for turning. When sewing press the layers of the zipper towards the lining. Turn your pouch right side out and stitch up the lining.
I apologize, I should have a bunch of photos of those steps but I had a brain fart and forgot to take them. Let me know if you have questions about these steps. Attach key rings to both of the tabs. Now your pouch is done.
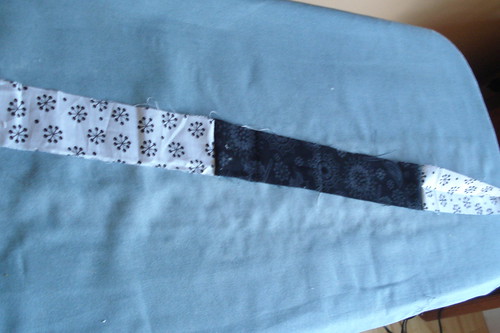
For the lanyard, Choose one long piece of fabric two inches wide, or several shorter pieces. You will need to sew the shorter pieces together to make your finished length. Fold this strip in half right sides together and sew. Turn the strip right side out and stitch the ends together to form a loop. Thread through the top right of your pouch.
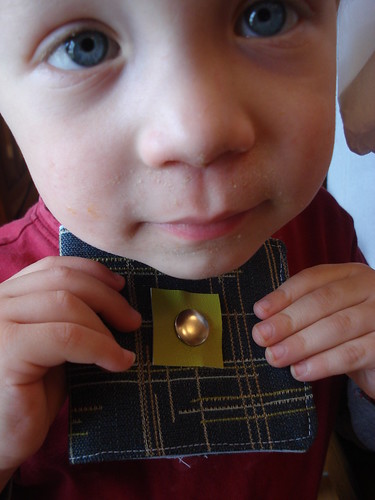
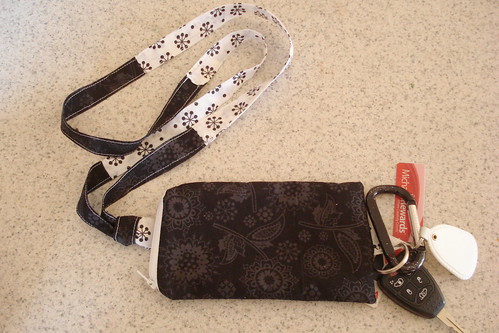
Attach your keys and fill the pouch! I hope my mom likes this!!!
Subscribe to:
Posts (Atom)