Pages

Showing posts with label Pint Sized Project. Show all posts

Tuesday, January 11, 2011

Pint Sized Project - Paint Chip Mosaic

I am a big copy cat these days. There is so much fabulous inspiration out in blog land and it's way easier to do my own version of what someone else has done than to stress my brain to come up with something new . . . especially when coming up with ideas for my kids. Sometimes my brain is just fried!

So due to seeing several paint chip mosaics around blog land, I've been thinking for a while about making my own. I managed to pick up these GIANT paint chip samples from the Dutch Boy display at Walmart yesterday. And since they had so many darling shades, I picked up only Valentine's colors!! Pinks and purples just for Sweet Pea. After quiet time yesterday we went to work.


We started by modpodging a piece of tissue paper to some corrugated plastic. Turned out this step was a waste of time. You couldn't see the back ground anyway!


Then I trimmed the huge paint chips into 3.5 x 3.5 squares. I just didn't want the huge Dutch Boy logo on our mosaic. Then we glued them down. First we tried ModPodge but it made the corners curl up so we switched to some tacky craft glue. I put down the glue, Jojo picked the colors and Sweet Pea pasted them down.


Then we left to to dry overnight while we ate our roast chicken and asparagus for supper. Yes, the kids really do eat asparagus, and brussel sprouts too!


I went back and hot glued down a few curling up corners. I considered more modpodge but decided against it. Instead I dressed it up a bit with a bit of ribbon hot glued around the edges and added to the mantel.


Yeah, the lines are bit crooked and there's some stray glue, but that's what the projects the kids help with are all about right?? I'm thinking this will look really cute in Sweet Pea's room after Valentine's Day too!


Thursday, December 16, 2010

Angels & Men - Pint Sized Project

I feel a bit silly sharing these because it seems like they are something everyone has made sometime in their life. If you are one of the few people who have not, you should! They are lots of fun. Basically you are making a paper chain. Sort of like a snowflake. My kids both had a great time decorating these this year and just love seeing them hung up!


Start with a long strip of paper. White is fine. Cut up grocery bags are fine. We used a piece from a roll of packing paper we got at the dollar store for a dollar!

Fold it accordion style. You know, back and forth. Make sure your edges meet.


On your fold, draw one half of your design. We did gingerbread men and angels. Make sure the design fills the whole space and that arms, legs, or wings touch the opposite fold.


Cut your design out. Be sure that you leave sections attached on both folds. See, here the feet are right on the fold.

Unfold your paper. See all the little men you created! Holding hands & touching feet!!


Decorate to your liking. Crayons, markers, glitter glue, sequins.

Some one really likes the glitter glue!!


Display!!


Also, you can tape or glue several of these paper strips of men together to make one long garland to go on your tree or mantel. Ours always seem to end up in the windows. Sweet Pea really enjoys decorating these. This year she got a kick out of making all her angles the same. Last year, she insisted that every single one be different!


Sunday, November 21, 2010

Mini Felt Wreaths - Pint Sized Project


So after making the wreath out of pants, Sweet Pea really wanted to make her own wreath. She loves it when I display her art work and I figured we could use something new to replace a few of the items I tossed from last Christmas. (Yes, I toss my children's art work. Sweet Pea produces about 20 pieces a day. I can't keep it all! )  I did some digging through my scrap fabric and found some green felt, and cut out more circle from my trusty corrugated plastic signs!

Our circles were about ten inches I think. I traced a mixing bowl for the outside and a yogurt cup for the inside circle.
We cut the green felt in to strips and fired up the glue gun. I started by putting down a dab of glue and having the kids stick down the felt. Then they wrapped it tightly around the circle.
Okay, so Jojo didn't really wrap his. He mostly picked at the hot glue.
This is what it looked like when we had it all wrapped up. I did put a few dots of glue here and there under the felt to hold it in place. Next we cut some circles out of red & white felt. They were about four inches across I think. I eyeballed these so they aren't really very round.
Fold your circle in half and then in half again.
I put down a generous circle of glue and Sweet Pea pressed her flower into it. From the top to avoid burned, gluey fingers!
Then we glued down a couple more felt flowers, added a strip of felt for hanging and called it good!  I hung these in the windows in our breakfast area by pulling the top window down, tucking the felt strip in, and shutting the window.


Thursday, November 4, 2010

Pint Sized Project - Backyard Birdfeeders


SO I think I have created a monster with all of my crafting. Sweet Pea thinks we need to save every scrap of fabric and every empty container. She sees photos of things in magazines and wants to know if I can make it. . . oh how I wish!

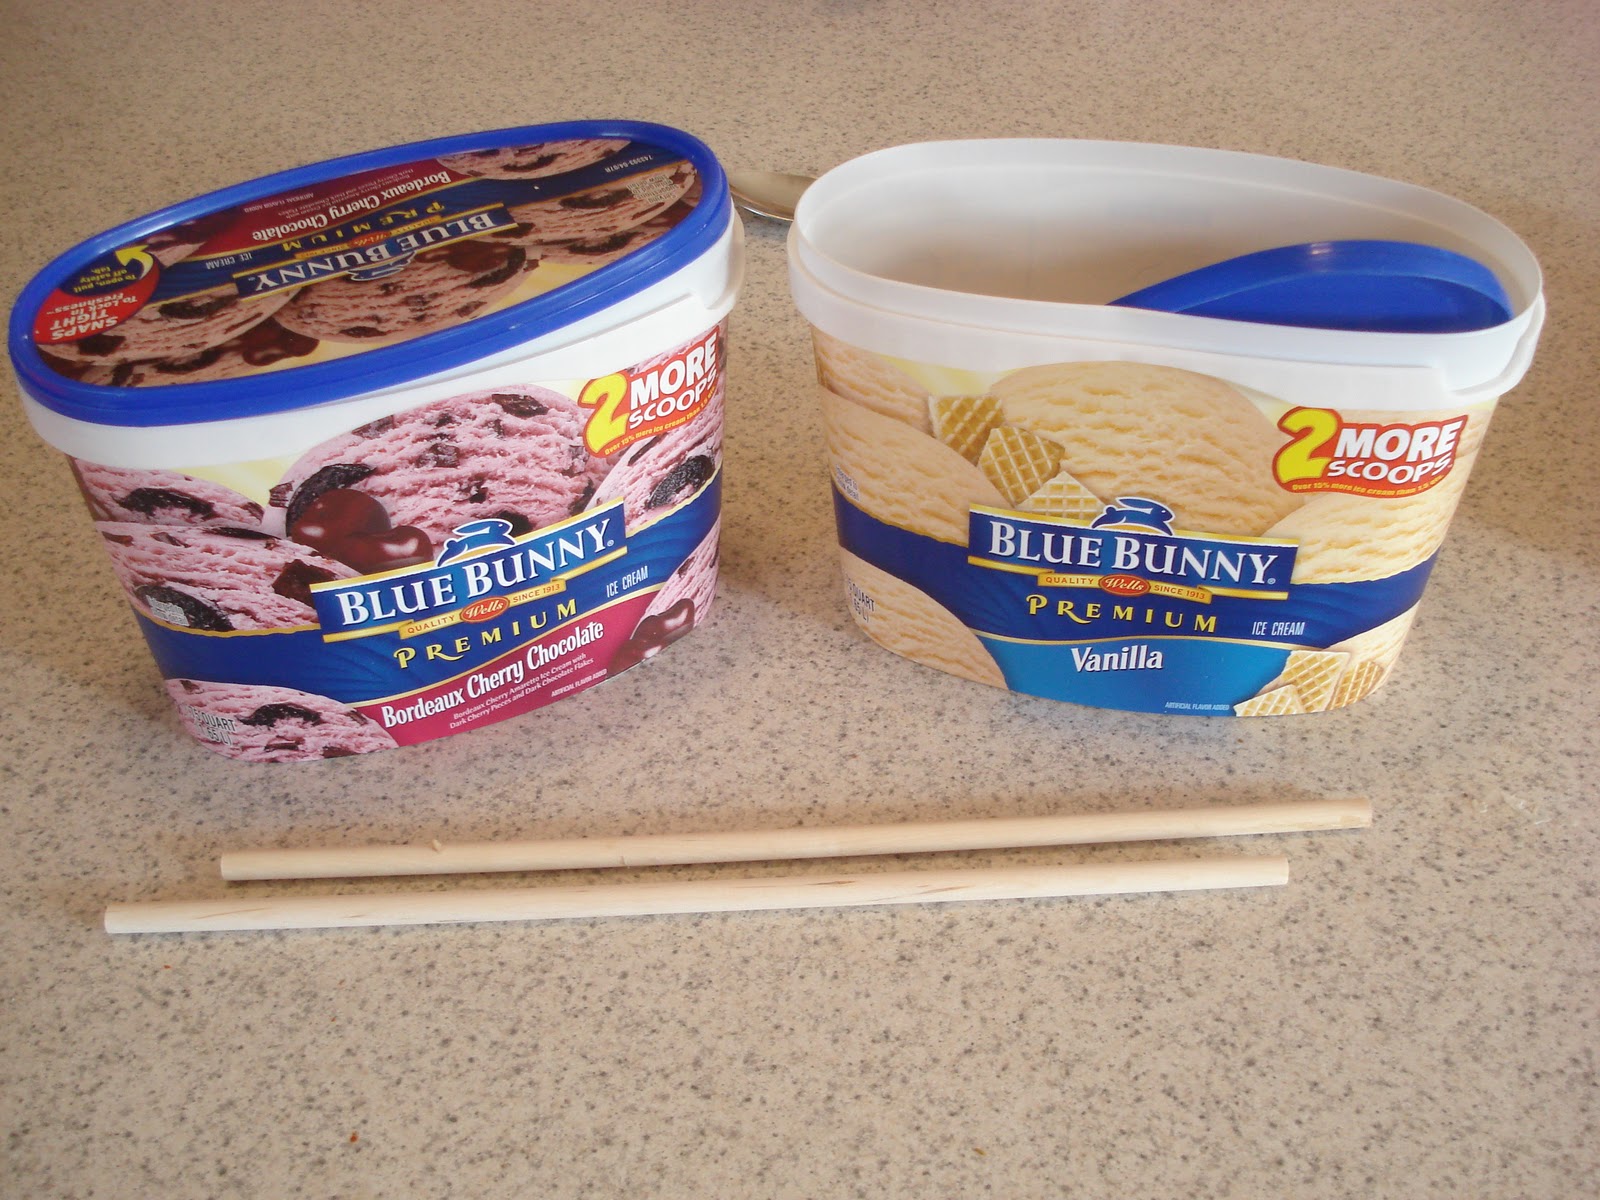
I've saved lots of these ice cream containers. They are sturdy plastic and work well for storing odds and ends, water buckets in the swimming pool or the sand box, you know stuff. Well yesterday they were good for bird feeders. I am a fan of feeding and watching birds. My parents have been feeding birds for as long as I can remember and I guess it rubbed off on me. We made several different kinds last winter (milk cartons, soda bottles, ect) and Sweet Pea has been begging to make them again now that the weather is getting colder. So, since we were home having a sick day yesterday I hauled out the paints!


First we gathered a few supplies. Empty, washed out ice cream containers & dowels. Speaking of ice cream have you tried the Blue Bunny Chocolate Cherry Bordeaux Ice cream???? It's magical!


I started by drilling a hole in the side of each container about one inch up from the bottom. You could use a nail or sharp knife for this but I was putting on a show for the kids so I used the drill! Make the hole about the same size as your dowel so that it fits snugly.
Shove the dowel through to make sure it fits. Then do the same thing on the sides of the container. On the opposite sides make the hole about 1/2 inch from the bottom of the container so that the dowels can crisscross in the middle, like this.


Then, just above the dowel holes, cut a larger hole. I made mine big enough for most small birds but not big enough for a squirrel. You could make these smaller, the birds can still get the seed out.

I also made four small holes around the outside rim of the container. Later I put wire through these to hang the feeders. I totally forgot to take photos of the wire, but wanted to show you the holes.
Then we painted, and painted, and painted.


This Sweet Pea's painting of the birds who will be eating at our feeders :) While she worked on that I worked on the wire. It was a pain in the butt. Get some nice sturdy but flexible wire. Do not be stubborn like me and insist on using what's in the house (some jewelry wire and a coat hanger). Fill the bottom of your feeder with birdseed, snap on the lid & wait for the birds!


NOTE: These are NOT squirrel proof feeders. Our recycled product feeders held up pretty well last year when they were hanging on a hook like this. The ones that were fixed on the deck got pretty much destroyed. Personally, I'm okay with squirrel destruction, it gives us an excuse to make more feeders and give the squirrels a challenge!

ETA:  So happy to report that just as I posted this, Sweet Pea ran upstairs to tell me that a red cardinal has found our feeder. Oh and some other bird she can't remember the name of too! Yeah!